In the world of digital creativity, pixel art has made a massive comeback. Whether for indie game development, social media profiles, or retro aesthetic projects, having a personalized pixel art character is a trend that’s here to stay.

Enter Nano Banana Pro, the latest AI image generation tool powered by Google’s advanced Gemini 3.0 Pro engine. Our website AIAI.com is equipped with the Nano Banana Pro system. Unlike basic filters, Nano Banana Pro uses deep reasoning to understand facial features and style constraints, making it the perfect tool to transform your selfie into a high-quality 8-bit or 16-bit avatar.
In this guide, we will show you exactly how to use Nano Banana Pro to generate a custom pixel art character that looks just like you.
Step-by-Step: Generating Your Pixel Art Character
Follow these simple steps to turn yourself into a retro video game character.
Step 1: Access Nano Banana Pro
First, navigate to the official Nano Banana Pro interface. Ensure you have selected the “Pro” model, as the standard version may lack the deep stylistic understanding required for crisp pixel art.
Step 2: Upload Your Reference Image
To make the character look like you, you need to use the Image-to-Image (or Reference Image) feature.
- Click on the “Upload Image” or paperclip icon.
- Select a clear photo of yourself.
Pro Tip: Use a photo with good lighting and a simple background. A front-facing “ID style” photo or a clear selfie works best.
Step 3: Craft the Perfect Pixel Art Prompt
This is the most critical part. You need to tell the AI to ignore realistic textures and adopt a pixelated style.
Copy and paste this prompt template:
“Generate a 16-bit pixel art character sprite of the person in the reference image. The style should be reminiscent of classic SNES RPGs or Stardew Valley.
View: Full body, front-facing.Details: Maintain key features like [insert your hair color], [glasses/beard], and [clothing style].Tech Specs: Use a limited color palette, clean outlines, and no anti-aliasing.Background: Plain white background for easy removal.”
Why this works:
- “16-bit pixel art”: Defines the resolution and aesthetic.
- “Character sprite”: Tells the AI you want a game-ready asset, not just a blurry photo.
- “No anti-aliasing”: Ensures the edges are sharp and blocky, characteristic of true pixel art.
Step 4: Adjust Settings (Optional)
If the interface allows parameter tuning:
- Aspect Ratio: Set to 1:1 (Square) for avatars or 2:3 for full-body sprites.
- Style Strength: Set “Image Reference Strength” to High (around 0.7 or 0.8) to ensure the face resembles you closely.
Step 5: Generate and Refine
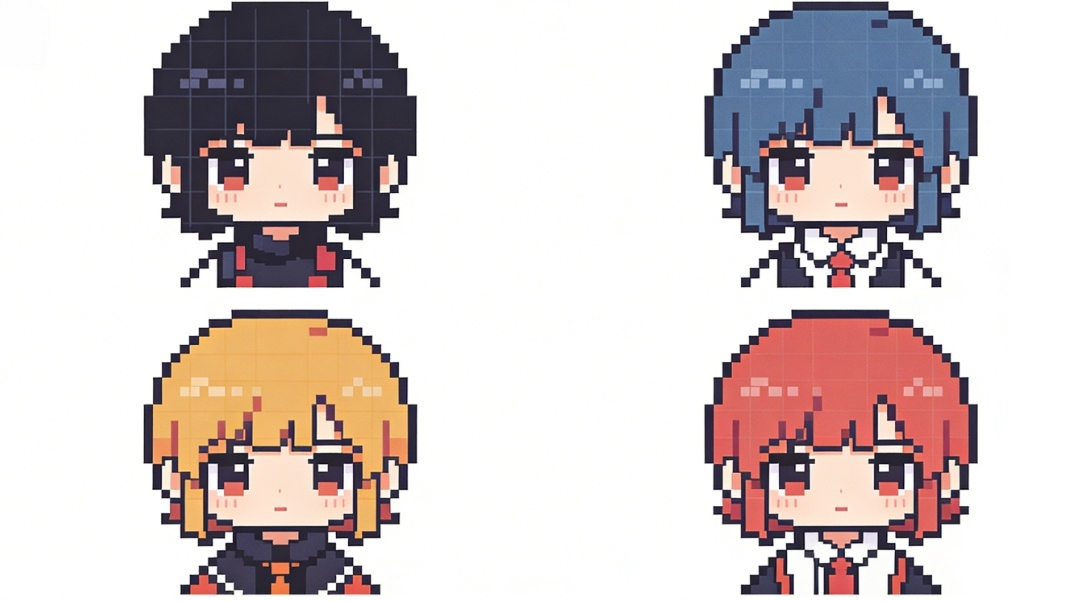
Click Generate. Nano Banana Pro typically produces 4 variations.
- Too realistic? Add “retro aesthetic, 8-bit, blocky” to your prompt.
- Not looking like you? Increase the reference image strength or simplify your prompt description.
Advanced Tips for Better Results
1. Choose Your “Bit” Era
- 8-Bit Style: Use keywords like “NES style,” “limited palette,” and “chunky pixels” for a simpler, more abstract look.
- 32-Bit Style: Use keywords like “PlayStation 1 style,” “detailed shading,” and “isometric view” for a more modern retro look.
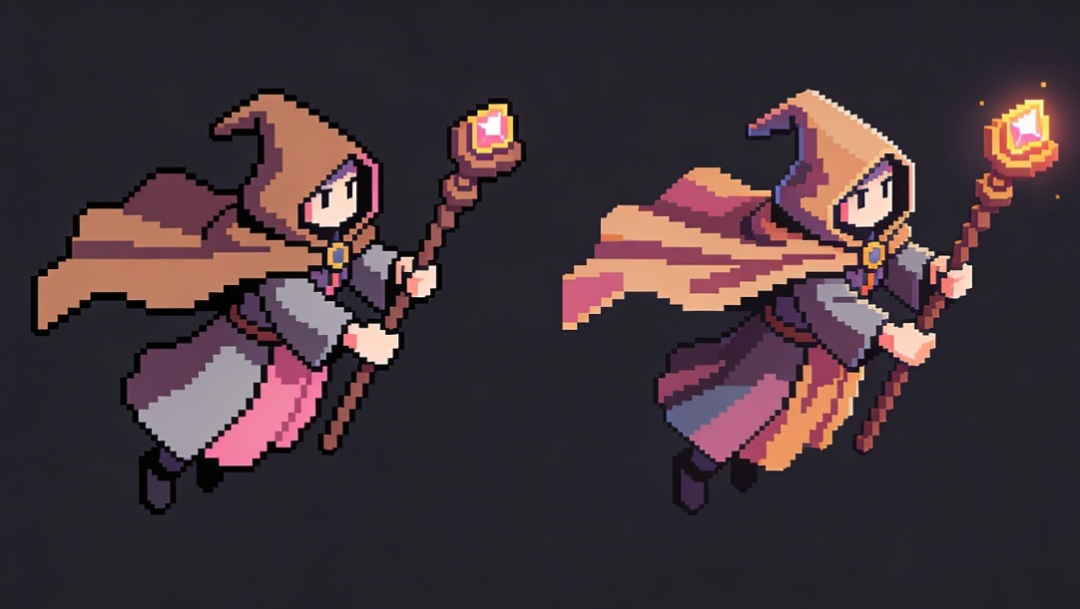
2. Batch Generation for Game Assets
If you are a game developer, Nano Banana Pro can generate a sprite sheet.
- Prompt modification: “Generate a pixel art sprite sheet showing the character in 4 different poses: walking, jumping, idle, and attacking.”

3. Upscaling Without Blurring
One common mistake is upscaling pixel art using standard photo enhancers, which makes it blurry. If not, export the image and use “Nearest Neighbor” interpolation in Photoshop to resize it without losing hard edges.
Conclusion
Using Nano Banana Pro to create a personal pixel art avatar is one of the fastest ways to get professional-looking retro art. By combining the tool’s advanced image recognition with specific “sprite-based” prompting, you can immortalize yourself in the style of your favorite classic video games.
Ready to pixelate yourself? Head over to Nano Banana Pro and start generating today!
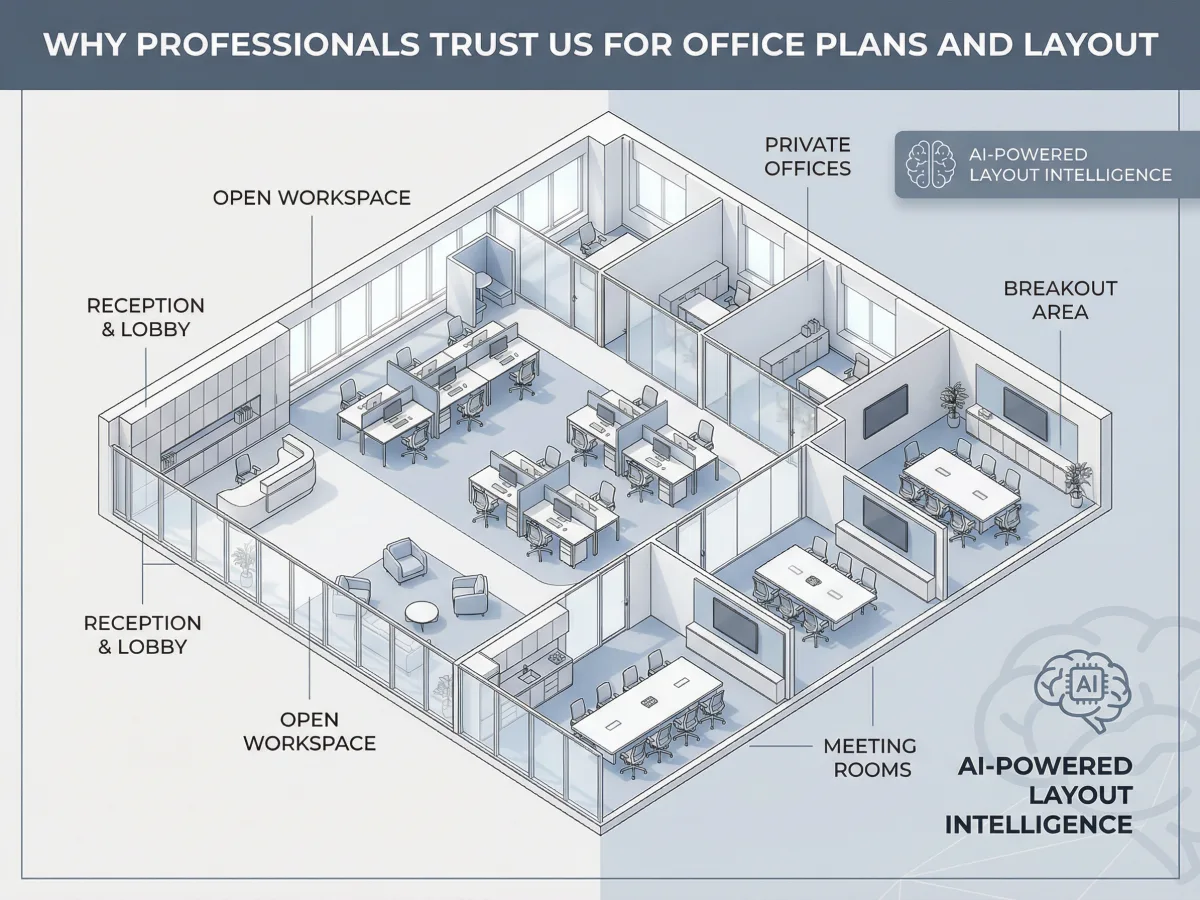
Stuck on a workspace layout deadline without the budget for an interior designer or the patience for CAD software? Here Read more
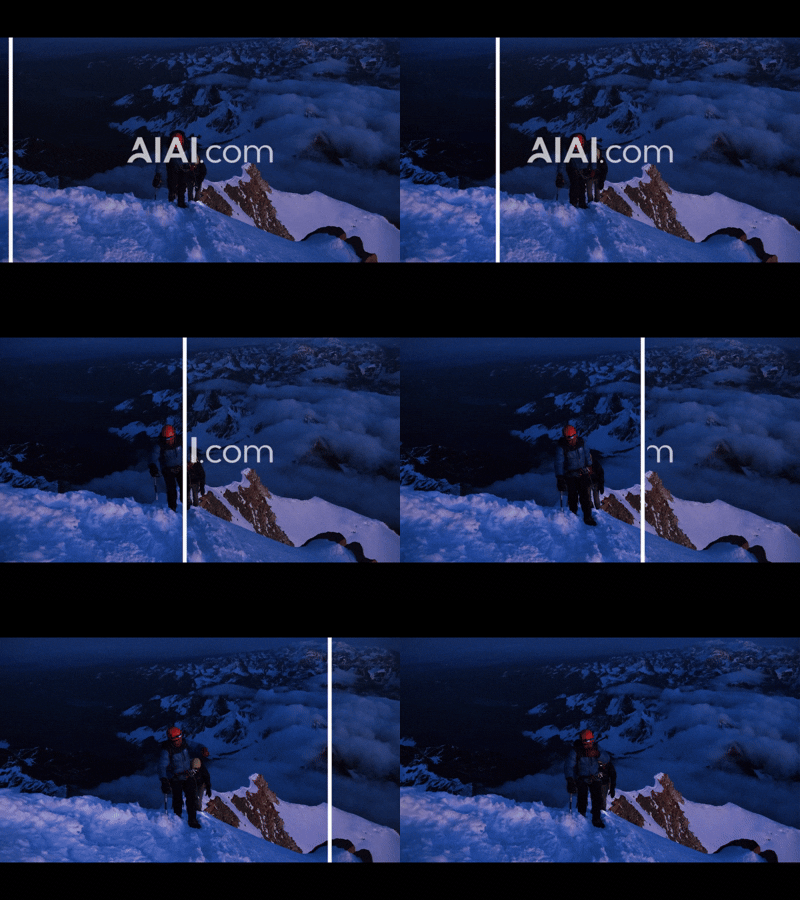
Discover how a video text remover can quickly and easily remove subtitles, watermarks, and unwanted text from your videos. Learn Read more
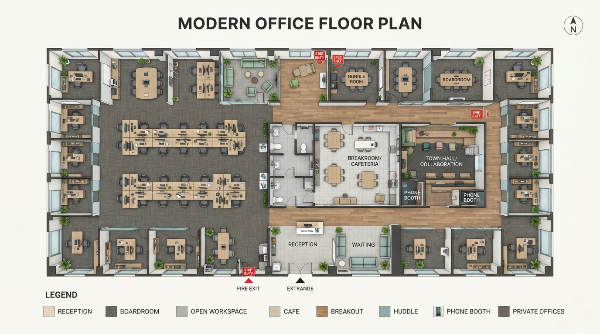
Creating an effective office floor plan sounds simple at first. You need desks, meeting rooms, a reception area, and perhaps Read more
I’ve spent the last seven years helping independent restaurant owners and operators open their doors. If there’s one mistake I Read more