In the past, my workflow for a skincare client was a logistical marathon. Today, it’s a streamlined creative sprint. Let’s look at how GPT Image 2 has fundamentally rewired the way I work as a designer.
The Designer’s Burden: What “Manual” Design Really Costs
Before this model, creating a high-converting PDP for a serum or moisturizer involved a checklist that felt more like manual labor than creative art:
- The Studio Struggle: I’d spend hours setting up “splash photography”—trying to capture the perfect water droplet or texture smear.
- The Clipping Path Hell: Hours spent using the Pen Tool to cut out bottles and fix “fringing” on transparent glass.
- The Layout Chess: Trying to fit ingredients, benefits, and “How-to” text around a product photo without it looking cluttered.
- The Localization Gap: If the client needed a version for the Chinese market, I’d have to manually re-design the typography because old AI models couldn’t handle the characters.
Total Time: On average, a single professional PDP took me 28 to 32 hours from concept to final export.
The Efficiency Revolution: GPT Image 2 by the Numbers
As a designer, I care about pixels; as a professional, I care about performance. GPT Image 2 has shifted my productivity into a different gear. Based on my recent projects, the data speaks for itself:
Workflow Comparison Table
| Design Phase | Traditional Manual Process | GPT Image 2 Workflow | Efficiency Gain |
| Scene & Lighting Setup | 8 Hours (Studio/3D) | 2 Minutes (Prompting) | 240x Faster |
| Texture & Splash FX | 5 Hours (Photography) | 1 Minute (Generation) | 300x Faster |
| Text Rendering & Labels | 3 Hours (Typesetting) | Included in Output | 100% Automated |
| UI/UX Layout Logic | 4 Hours (Prototyping) | 5 Minutes (Layout-Aware) | 48x Faster |
| TOTAL TURNAROUND | ~20 Hours | ~30 Minutes | ~4,000% Increase |
Pro Designer Insight: According to latest 2026 industry benchmarks from MindStudio, GPT Image 2 has a 95% accuracy rate in spatial reasoning. For me, this means the “shadows” and “reflections” are physically correct the first time, saving me hours of manual lighting correction.
My Step-by-Step Production Guide: A Skincare Case Study
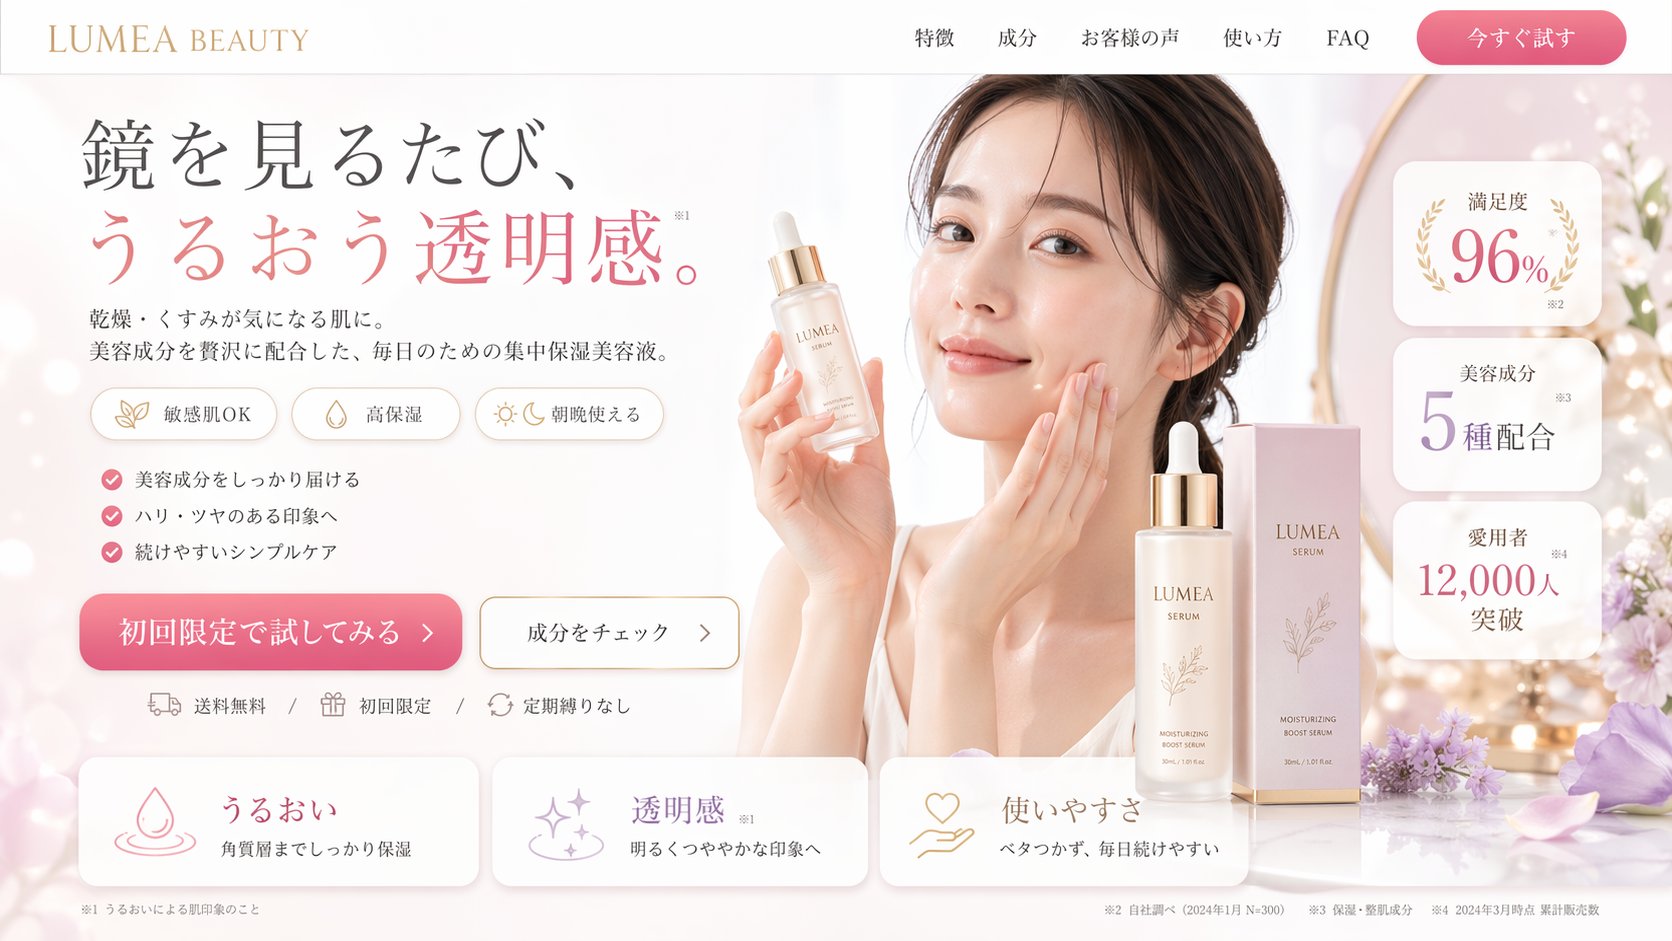
When I’m building a PDP for a skincare product now, I follow a three-act structure. Here is how I use GPT Image 2 for each section:
1. Step 1: Upload Your Product Image & Automated Identification
My role begins with a simple action: I upload my client’s existing product photo. For this case study, it’s a raw, unedited shot of a glass serum bottle.
The Automated Result: The magic of GPT Image 2’s spatial reasoning immediately takes over. The model automatically analyzes the input, identifying not just the object (a bottle), but the material (glass, liquid viscosity) and the type (cosmetic serum). It creates an internal, geometrically accurate map of the product, laying the foundation for a perfectly integrated final composite. No manual clipping paths required.
2. Step 2: Define the Destination Platform & Constraints
Now, I establish the structural logic of the page. GPT Image 2 isn’t just generating art; it is building functional design assets optimized for specific conversion funnels.
The Strategy: Within the configuration panel, I select the target platform: “website banner”
3. Step 3: Input Product Features & Generate the ‘Perfect’ PDP Shot
This is where I infuse the generated image with marketing ‘intelligence.’ I input the core product features and the strategic points I want to emphasize.
The Strategy: In the final prompt dialog, I list the required elements: “Highlight the key ingredients (Hyaluronic Acid, Vitamin C) with clean, legible text call-outs. Feature the core benefit (’24-hour hydration’). Showcase the unique texture of the serum with a macro drop detail.”
Why This Changes Everything for My Business
By reducing my “production” time from days to minutes, I can now offer my clients rapid A/B testing. I can generate five different versions of a PDP in an hour, test which one converts better, and iterate instantly.
GPT Image 2 hasn’t replaced my eye for design—it has freed my hands. I no longer spend my day fixing “bad lighting” or “misspelled AI text.” I spend it on creative strategy.
GPT image 2 will soon be available for use. In the meantime, you can use nano banana pro as an alternative.
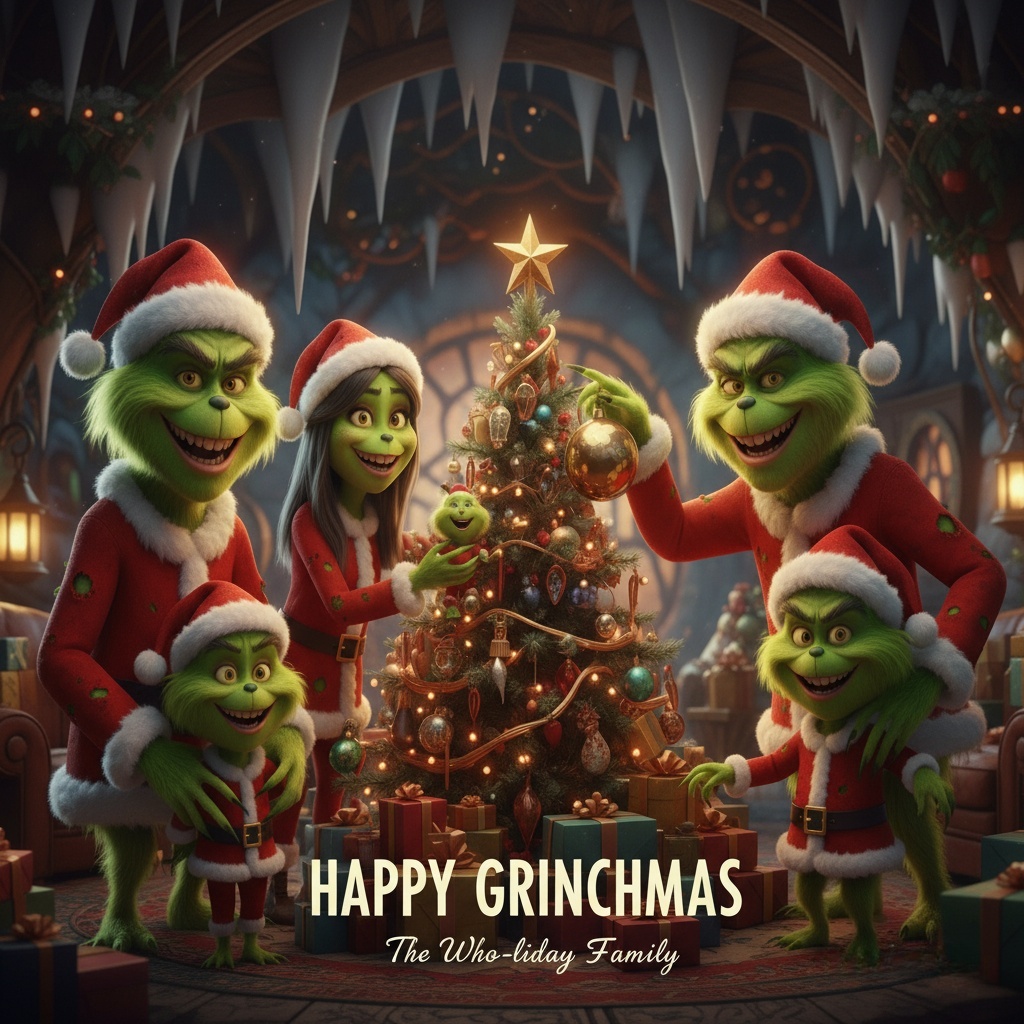
A Grinch filter lets you transform a regular photo into a Grinch-inspired image—green skin, expressive eyes, and that unmistakable “holiday Read more
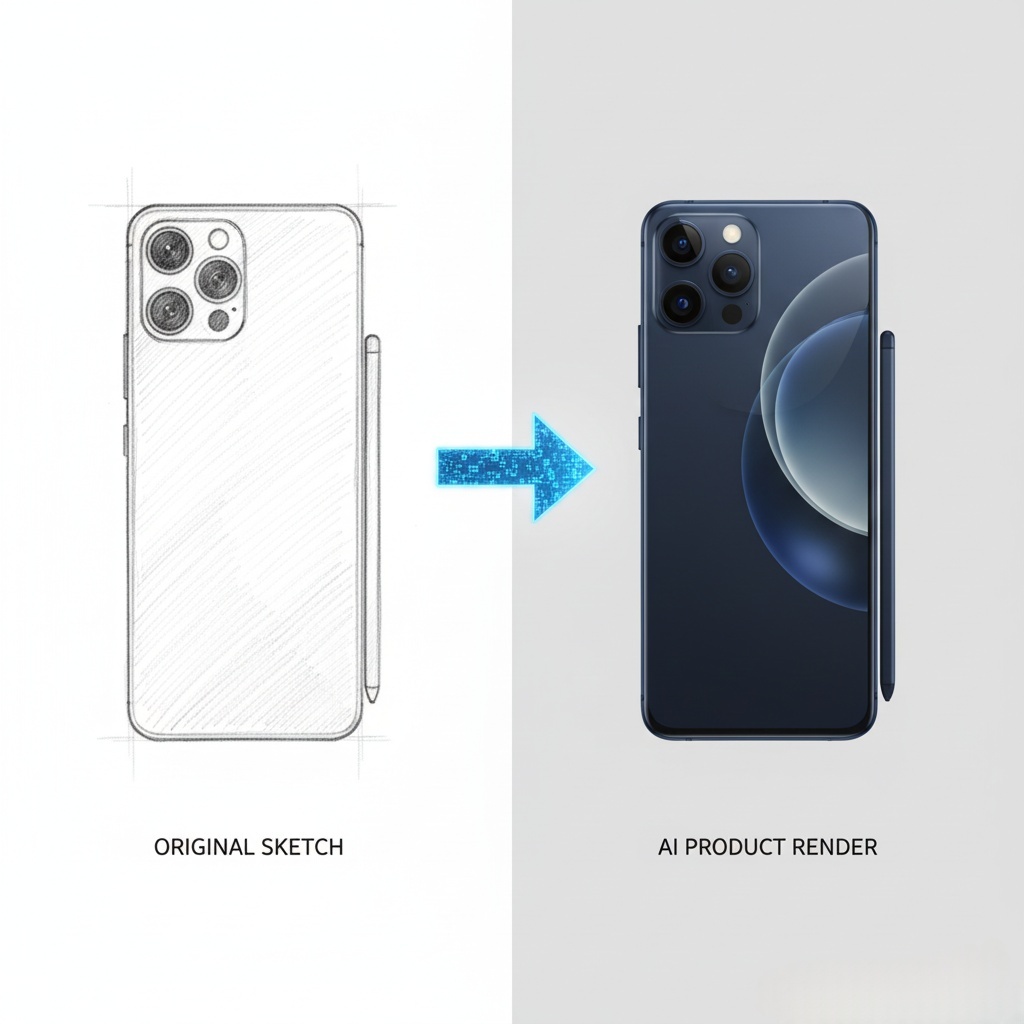
Looking for the best AI image to image generator? Learn how to style transfer, turn photos into cartoons, and keep Read more
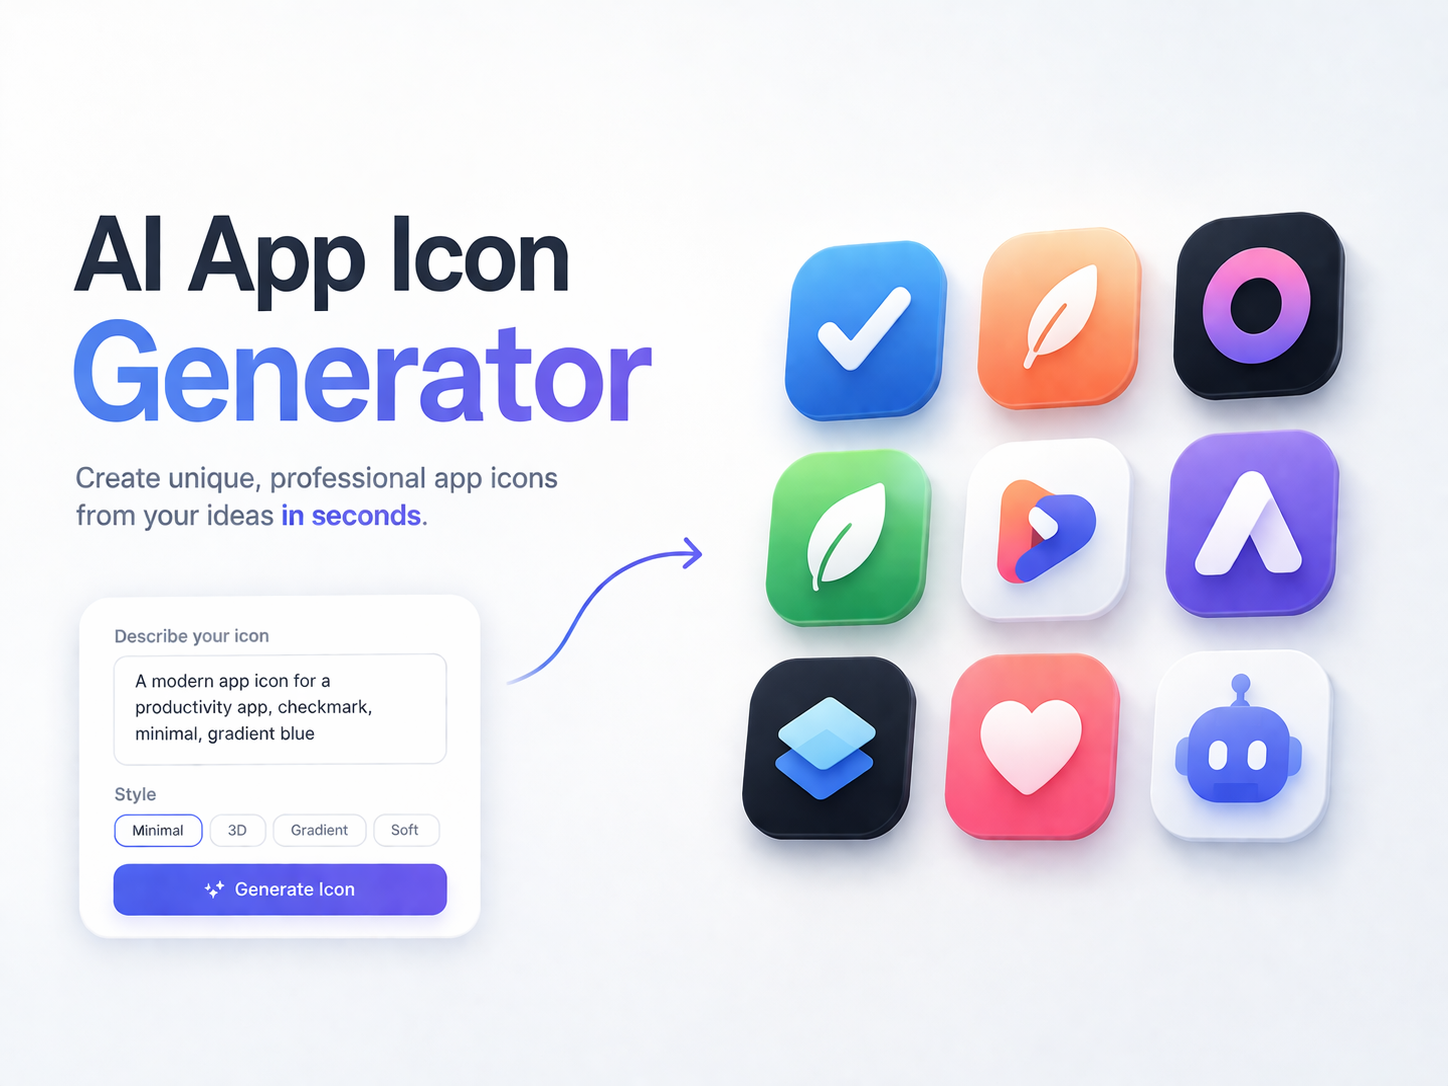
AI App Icon Generator: Design App Icons Without Starting from Scratch An app icon is one of the smallest design Read more
Introduction A few weeks ago, I was working with a small product team trying to quickly visualize a new workspace Read more