In the digital age, a visually stunning food preview is the difference between a user scrolling past your content or clicking through to get the recipe. However, not everyone has a professional studio kitchen or thousands of dollars for a food photographer.
Enter Nano Banana Pro. This cutting-edge AI tool is revolutionizing how food bloggers, restaurant owners, and content creators visualize their culinary ideas. Whether you need a thumbnail for a YouTube video or a header for your menu design, Nano Banana Pro can generate hyper-realistic food images in seconds.
In this guide, we will walk you through the exact steps to create delicious, high-quality food preview images using Nano Banana Pro.
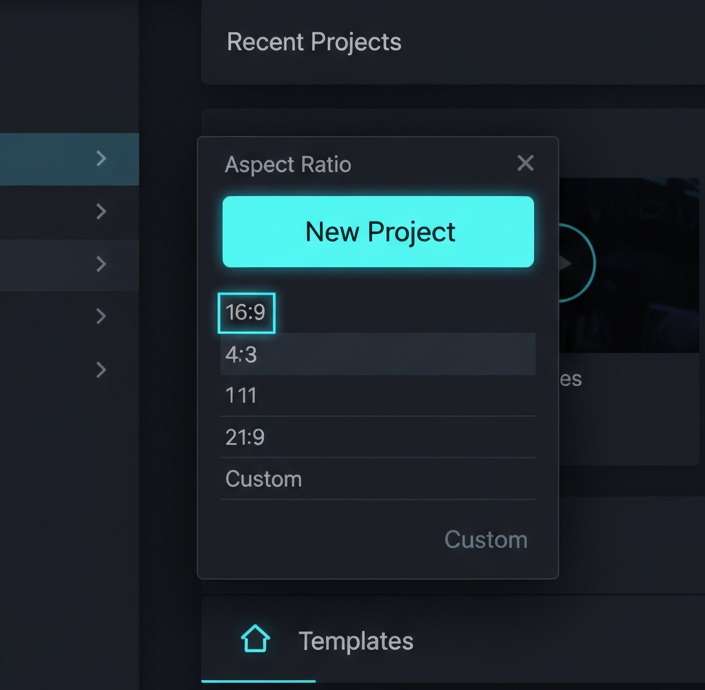
Step 1: Setting Up Your Workspace
First, launch Nano Banana Pro. The interface is designed to be user-friendly, but selecting the right initial settings is crucial for food photography. You want to ensure the canvas size matches your destination platform (e.g., 16:9 for video thumbnails or 1:1 for Instagram).
Step 2: Crafting the Perfect Prompt
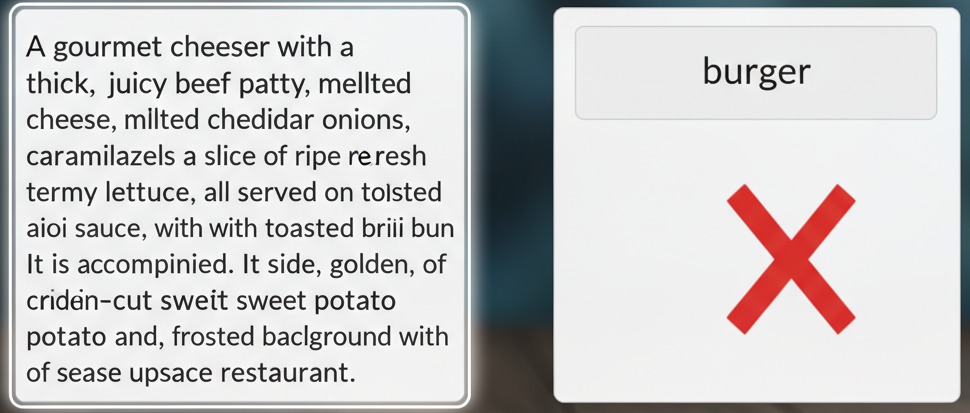
The magic of AI lies in the prompt. For food previews, vague descriptions like “a burger” won’t work. You need to describe the ingredients, the lighting, and the mood.
The Formula: [Subject] + [Adjectives/Texture] + [Lighting/Environment] + [Camera Angle]
Example Prompt: “A gourmet double cheeseburger with melting cheddar cheese, crispy bacon, and fresh lettuce, on a brioche bun. Steam rising, water droplets on fresh tomato. Golden hour lighting, cinematic depth of field, 8k resolution, macro food photography.”
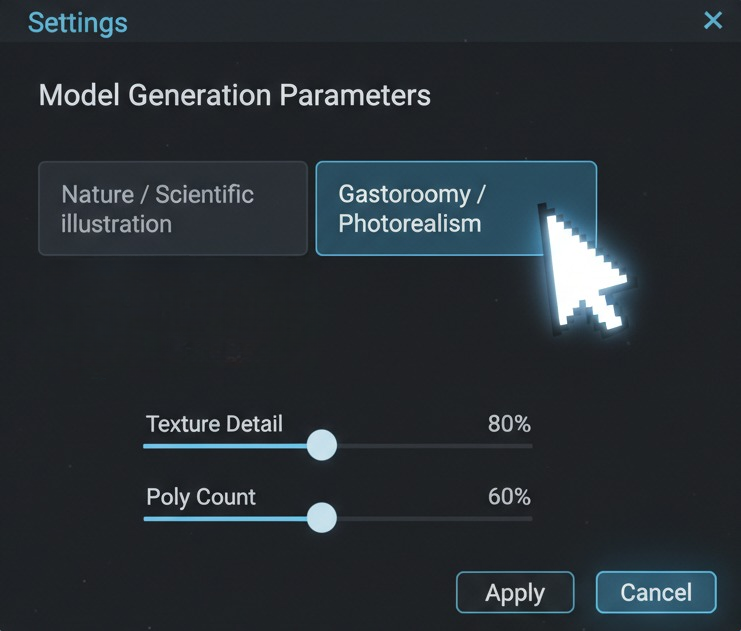
Step 3: Selecting the “Food Realism” Model
Nano Banana Pro comes with various style models. For food previews, never use “Anime” or “Sketch” modes unless that is your specific branding.
- Navigate to the Model Selection tab.
- Choose “Photorealism v4” or the specific “Gastronomy” preset if available in your version.
- Set the “Detail Weight” to High. This ensures the AI focuses on textures like bread crumbs or sauce gloss.
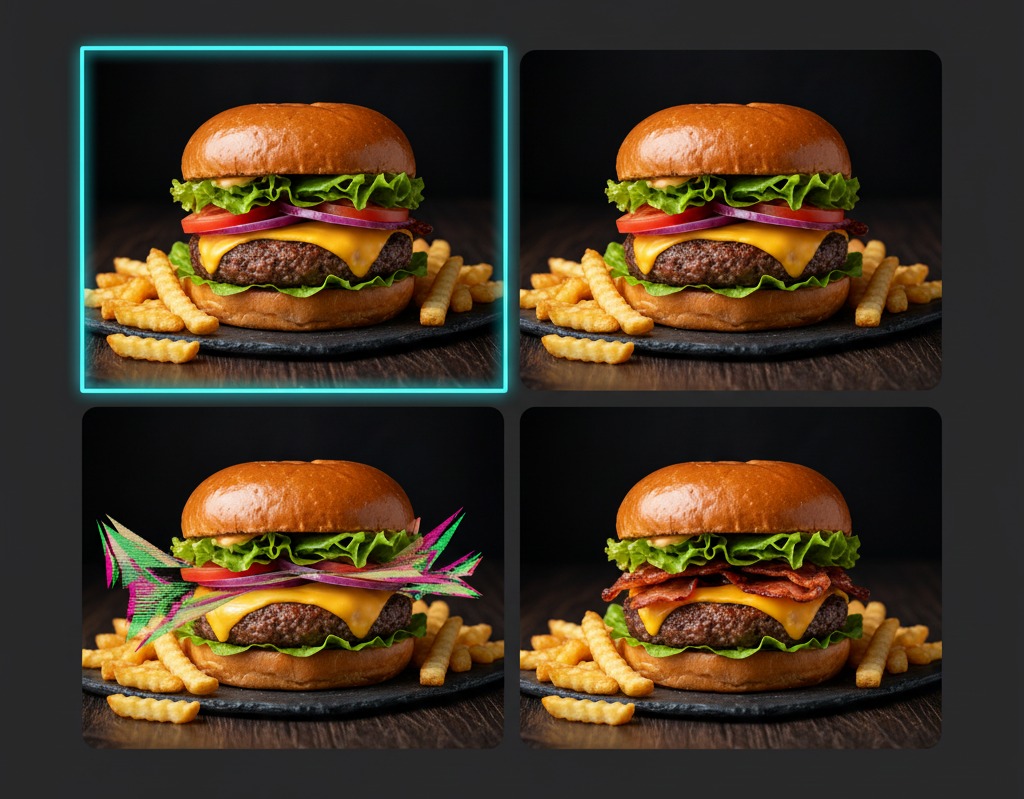
Step 4: Generating and Iterating
Click the “Generate” button. The AI will likely give you 4 variations. It is rare to get the perfect image on the first try. Look for common AI food errors: weird forks, floating ingredients, or unnatural colors.
If the image looks too plastic, add keywords like “organic texture,” “imperfect,” or “messy plating” to your prompt to make it feel authentic.
Step 5: Using the “In-Painting” Feature for Corrections
Sometimes the food looks perfect, but the background is distracting, or there is a strange utensil on the table. Nano Banana Pro’s In-Painting tool allows you to fix specific areas without regenerating the whole image.
- Select the In-Paint brush.
- Highlight the area you want to change (e.g., a stray napkin).
- Type a new instruction: “Wooden table surface, clean.”
- Click Generate to blend the repair seamlessly.

Using Nano Banana Pro to create food preview images is a game-changer for content creators. It saves time, reduces costs, and allows for infinite creativity. By following these steps—mastering the prompt, choosing the right settings, and refining with in-painting—you can produce professional-grade food photography that drives clicks and appetites.
Currently, our website AIAI.com is equipped with the Nano Banana Pro system – we welcome you to try it out!Start experimenting with your favorite dishes today and watch your engagement soar!
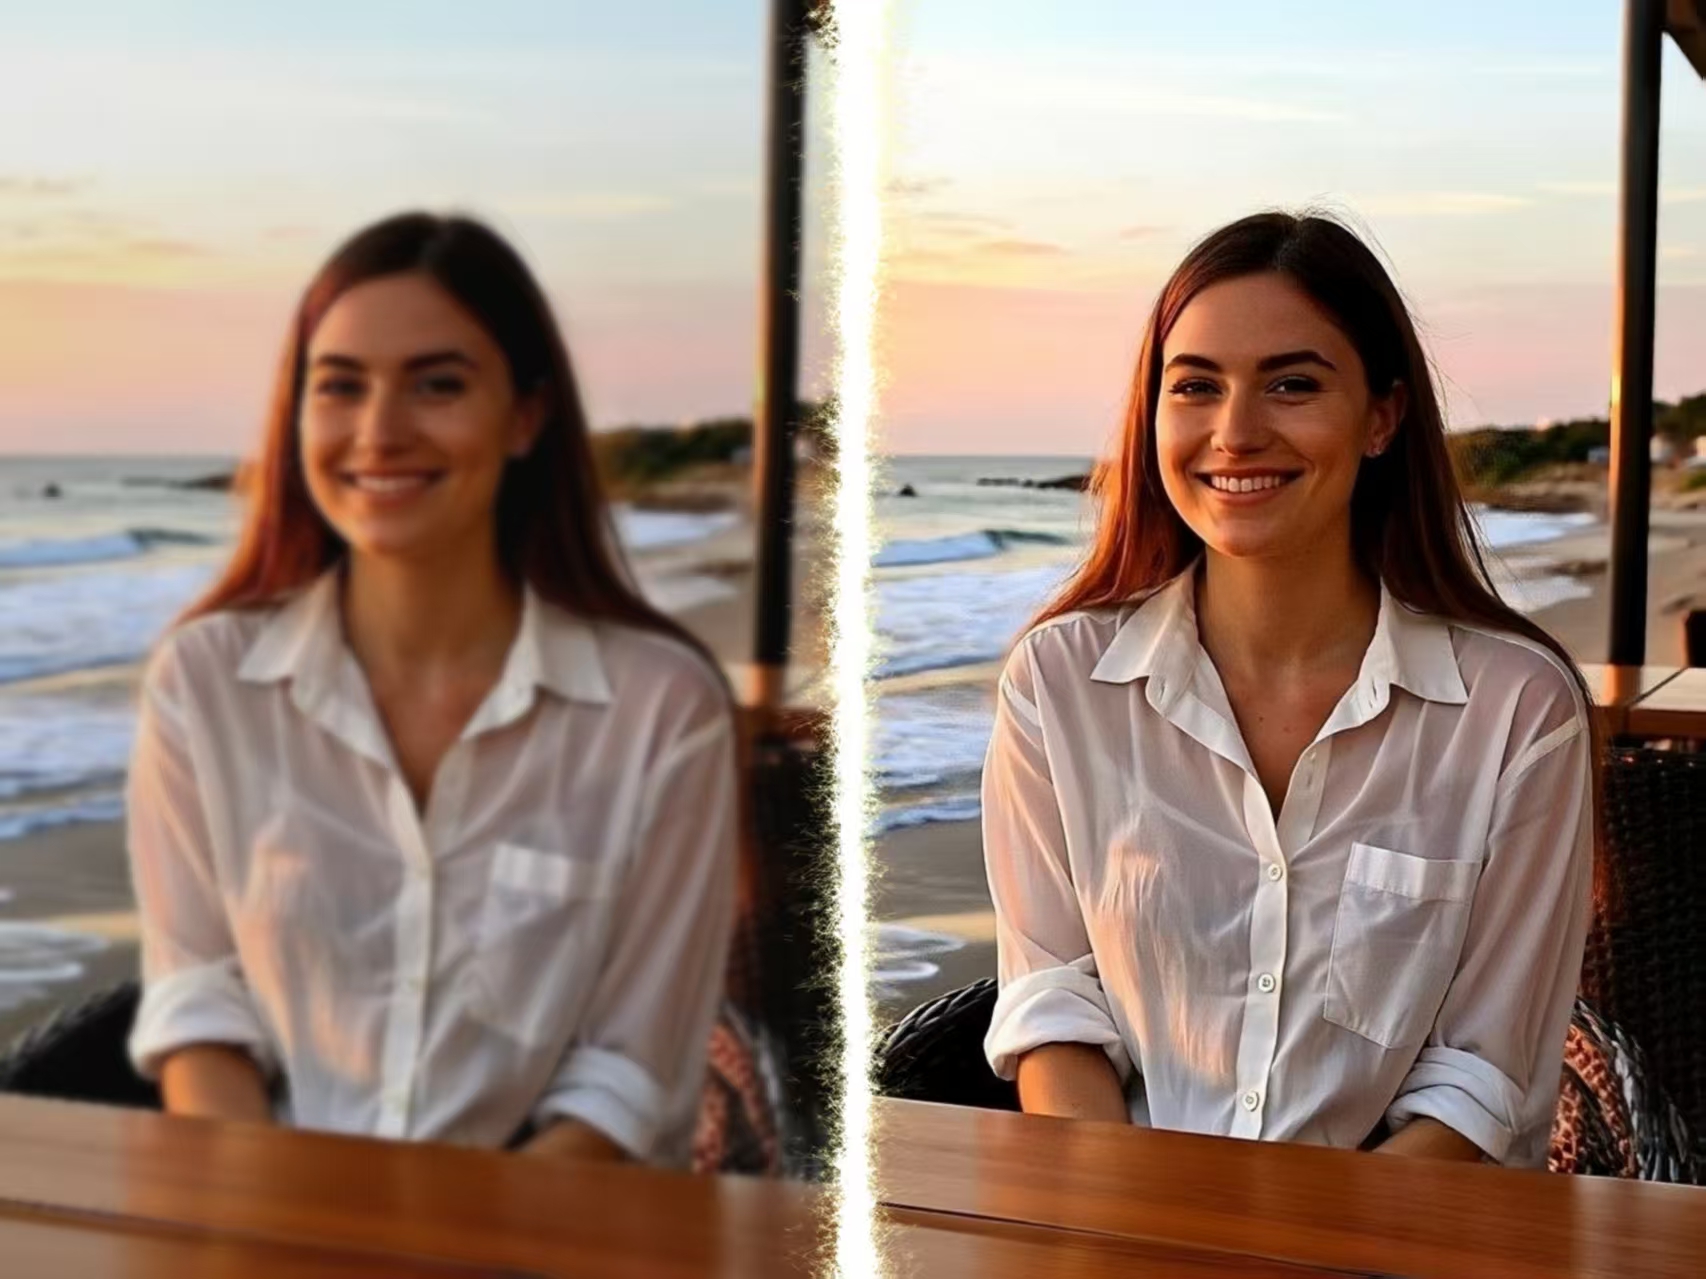
Old videos looking blurry on modern screens? I tested an AI video upscaler to enhance video quality up to 4K Read more
Create a custom 3D Floor Plan online without complex CAD software. Select your size, layout priorities, and style to visualize Read more

Explore how an AI video generator can speed up content creation for social media, business videos, product promos, and blog-to-video Read more

Why use an Image to Video generator instead of text? It offers superior stability and control. Learn how to combine Read more