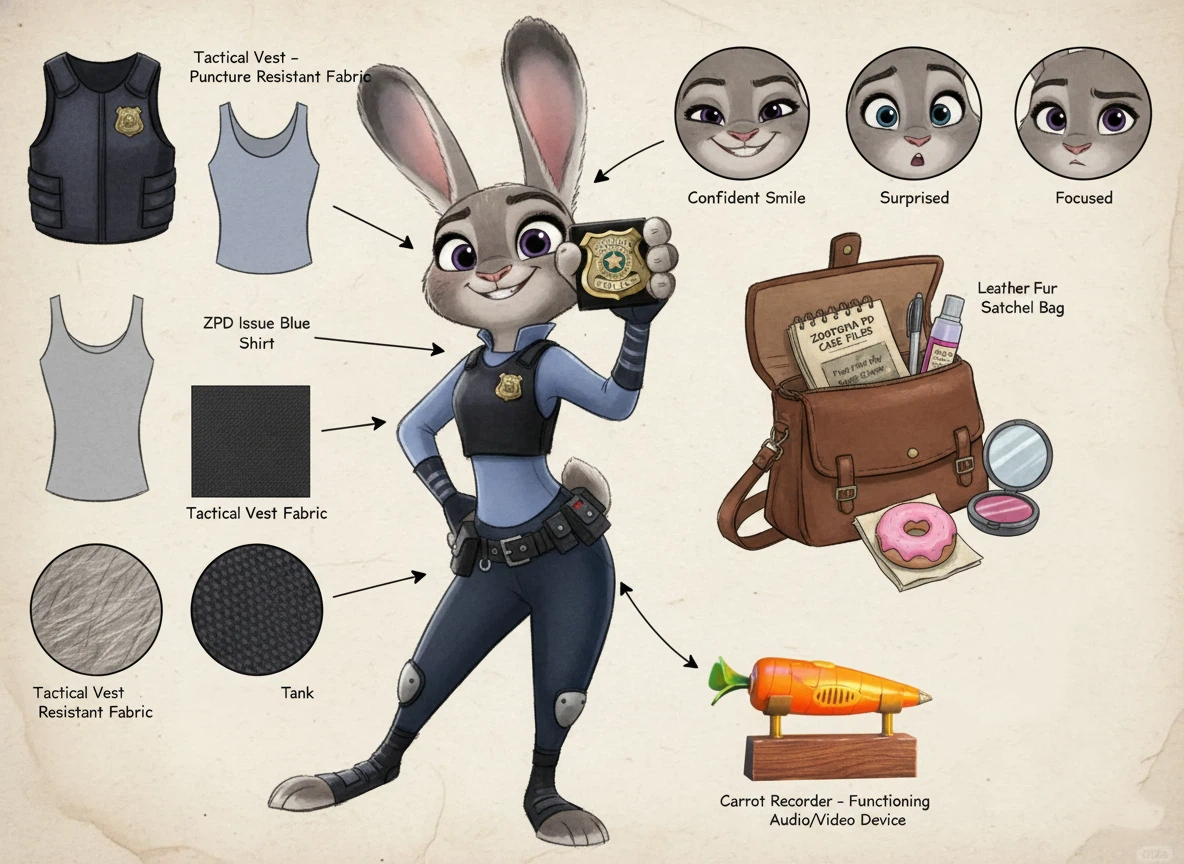
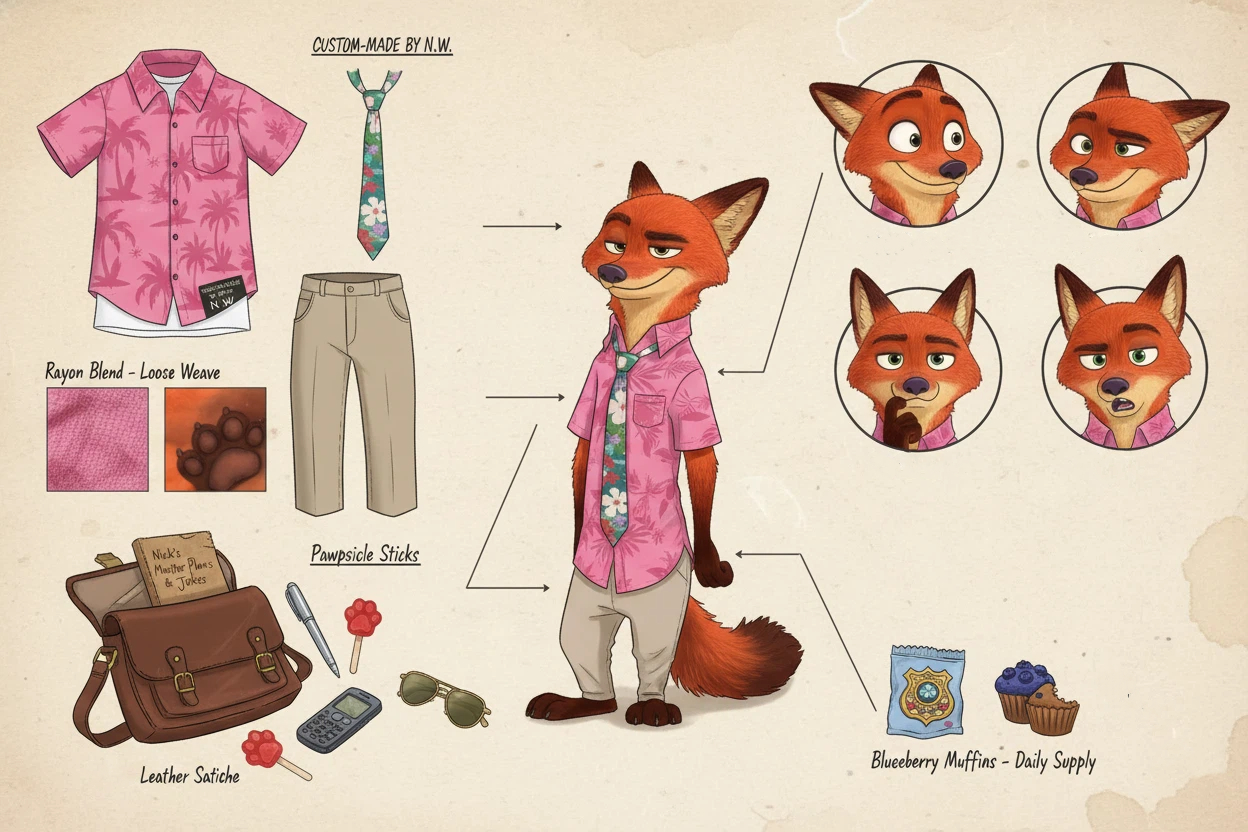
This guide demonstrates how to use the Nano Banana Pro model to create a detailed Zootopia 2 Character Profile Sheet, complete with annotations and accessory close-ups, resembling official Disney studio concept art.
I. Preparation and Understanding the Design Sheet Style
A Character Design Sheet differs significantly from a movie poster; it emphasizes clarity of information and design detail showcase.
- Key Requirements: The main character must be centrally located, the background should be simple (neutral color), and the frame must be populated with text, arrows, and accessory callouts.
- Model Selection: Ensure you select the Nano Banana Pro model on the AIAI platform, as it is better equipped to handle complex layout and informational graphic requirements.
II. Core Step: Writing the Prompt — Judy Hopps Character Profile Sheet Example
To create the desired archive-grade character profile sheet, you must utilize a sophisticated prompt template incorporating Meta-Instructions. This structured approach defines the AI’s Role and Task, compelling the Nano Banana Pro model to generate a complex layout with informational graphics.
Final Prompt Template (Input the entire block below as a single prompt for Nano Banana Pro):
Role (Character Setting)
You are a top-tier game and anime concept art master (Concept Artist), specializing in detailed character sheet creation. You possess pixel-level dissection skills, capable of analyzing the layering of clothing, capturing subtle facial expressions, and visualizing related items. You are particularly skilled at enriching a character’s personality and backstory through private belongings, personal items, and lifestyle details.
Task (Objective)
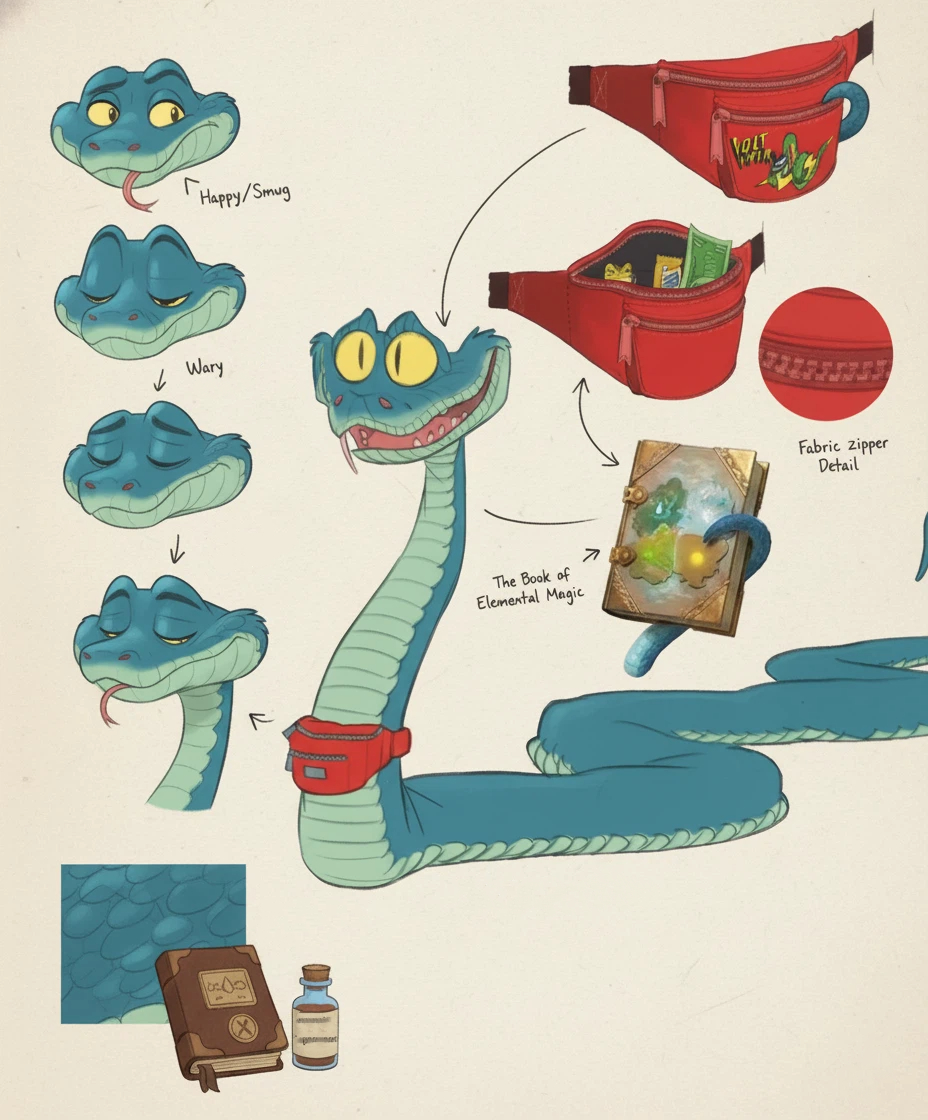
Based on the following main character description, generate a panoramic character deep concept decomposition illustration. The image must include a full-body central character, with surrounding elements displaying clothing layers, expression sets, core props, material close-ups, and personal & daily-life items that convey living atmosphere.
--- CHARACTER DESCRIPTION ---
A rabbit police officer, Judy Hopps, wearing a brand new Zootopia 2 black tactical uniform. She has a determined, focused expression and is standing in a ready stance. Her gear includes an advanced utility belt and custom-made ZPD badge.
---
Visual Guidelines
3.1 Layout
Center Position: Place the character’s full-body or main dynamic pose.
Surrounding Position: Arrange decomposition elements around the character.
Visual Guidance: Use arrows or lines to connect decomposition items with the corresponding parts of the character.
3.2 Deconstruction Details
Clothing Layers: Show individual clothing items, displaying inner layers if it is a multi-layer outfit.
Expression Set: Draw 3–4 headshots showing different emotions, e.g., determined, serious, amused, focused while inspecting a clue.
Material Close-ups: Magnify key details such as fabric folds of the uniform, fur textures, and fingertips.
Item Texture Close-ups: Show textures of small items like the matte finish of the badge, leather texture of the utility belt, and metal gleam of a taser.
Associated Items:
a. Everyday Bags and Contents: Display her ZPD issue utility bag and its opened contents, including a notepad, flashlight, and small carrot pen.
b. Beauty & Care: Display commonly used personal items, such as a small hand cream or lip balm (with a specific shade indicated).
c. Private Lifestyle Items: Present life-related items, such as a small, worn family photo or a customized Zootopia Metro Pass.
3.3 Style & Annotations
Art Style: High-quality 2D illustration or concept sketch style with clean linework.
Background: Use beige, parchment, or light gray textured background to create a design manuscript feel.
Text Annotations: Place handwritten-style annotations next to each element, describing materials, structures, or brand hints, e.g., “Tactical Vest,” “Puncture Resistant Fabric,” “Carrot Recorder,” “Custom-made ZPD Badge.”
Workflow
Analyze the character’s appearance, clothing style, and personality traits.
Extract primary decomposition elements (clothing, shoes, expressions, etc.).
Design secondary deep elements based on character’s temperament (under-layer style, cosmetics, personal items, etc.).
Integrate into a full illustration, ensuring correct perspective, consistent lighting, and clear annotations.
Output the final image in 4K high resolution.
Key Usage Points for the Prompt Template:
Character Customization (CHARACTER DESCRIPTION): This is where you modify the character details (e.g., Nick Wilde as a sophisticated private investigator). Keep the description precise and thematic for Zootopia 2.
Enforced Layout (Layout & Guidance): Instructions like Visual Guidance: Use arrows or lines... ensure the generated image functions as an informational design sheet.
Deep Details (Deconstruction Details): This section compels the AI to generate not just the character, but also the expression set, material close-ups, and personal items, adding tremendous depth to the final image.
III. AIAI Platform Workflow
Navigate to the Image Generation or Nano Banana Pro interface on the AIAI.
Paste or type your well-crafted prompt into the Prompt Input Box.
Select Model: Ensure the Nano Banana Pro model is selected.
Set Aspect Ratio: Set the ratio to a common poster size like 4:5 or 2:3.
Click Generate: Wait for Nano Banana Pro to process and generate the results.
Select and Refine:
- Choose the best image from the generated variations that matches your vision.
- If the result is not perfect, tweak your prompt (e.g., change the mood, adjust the pose description) and generate again.
- Download: Download your final, high-resolution character poster.

Need a logo but have zero design skills? Learn how to use an AI logo generator to turn simple words Read more
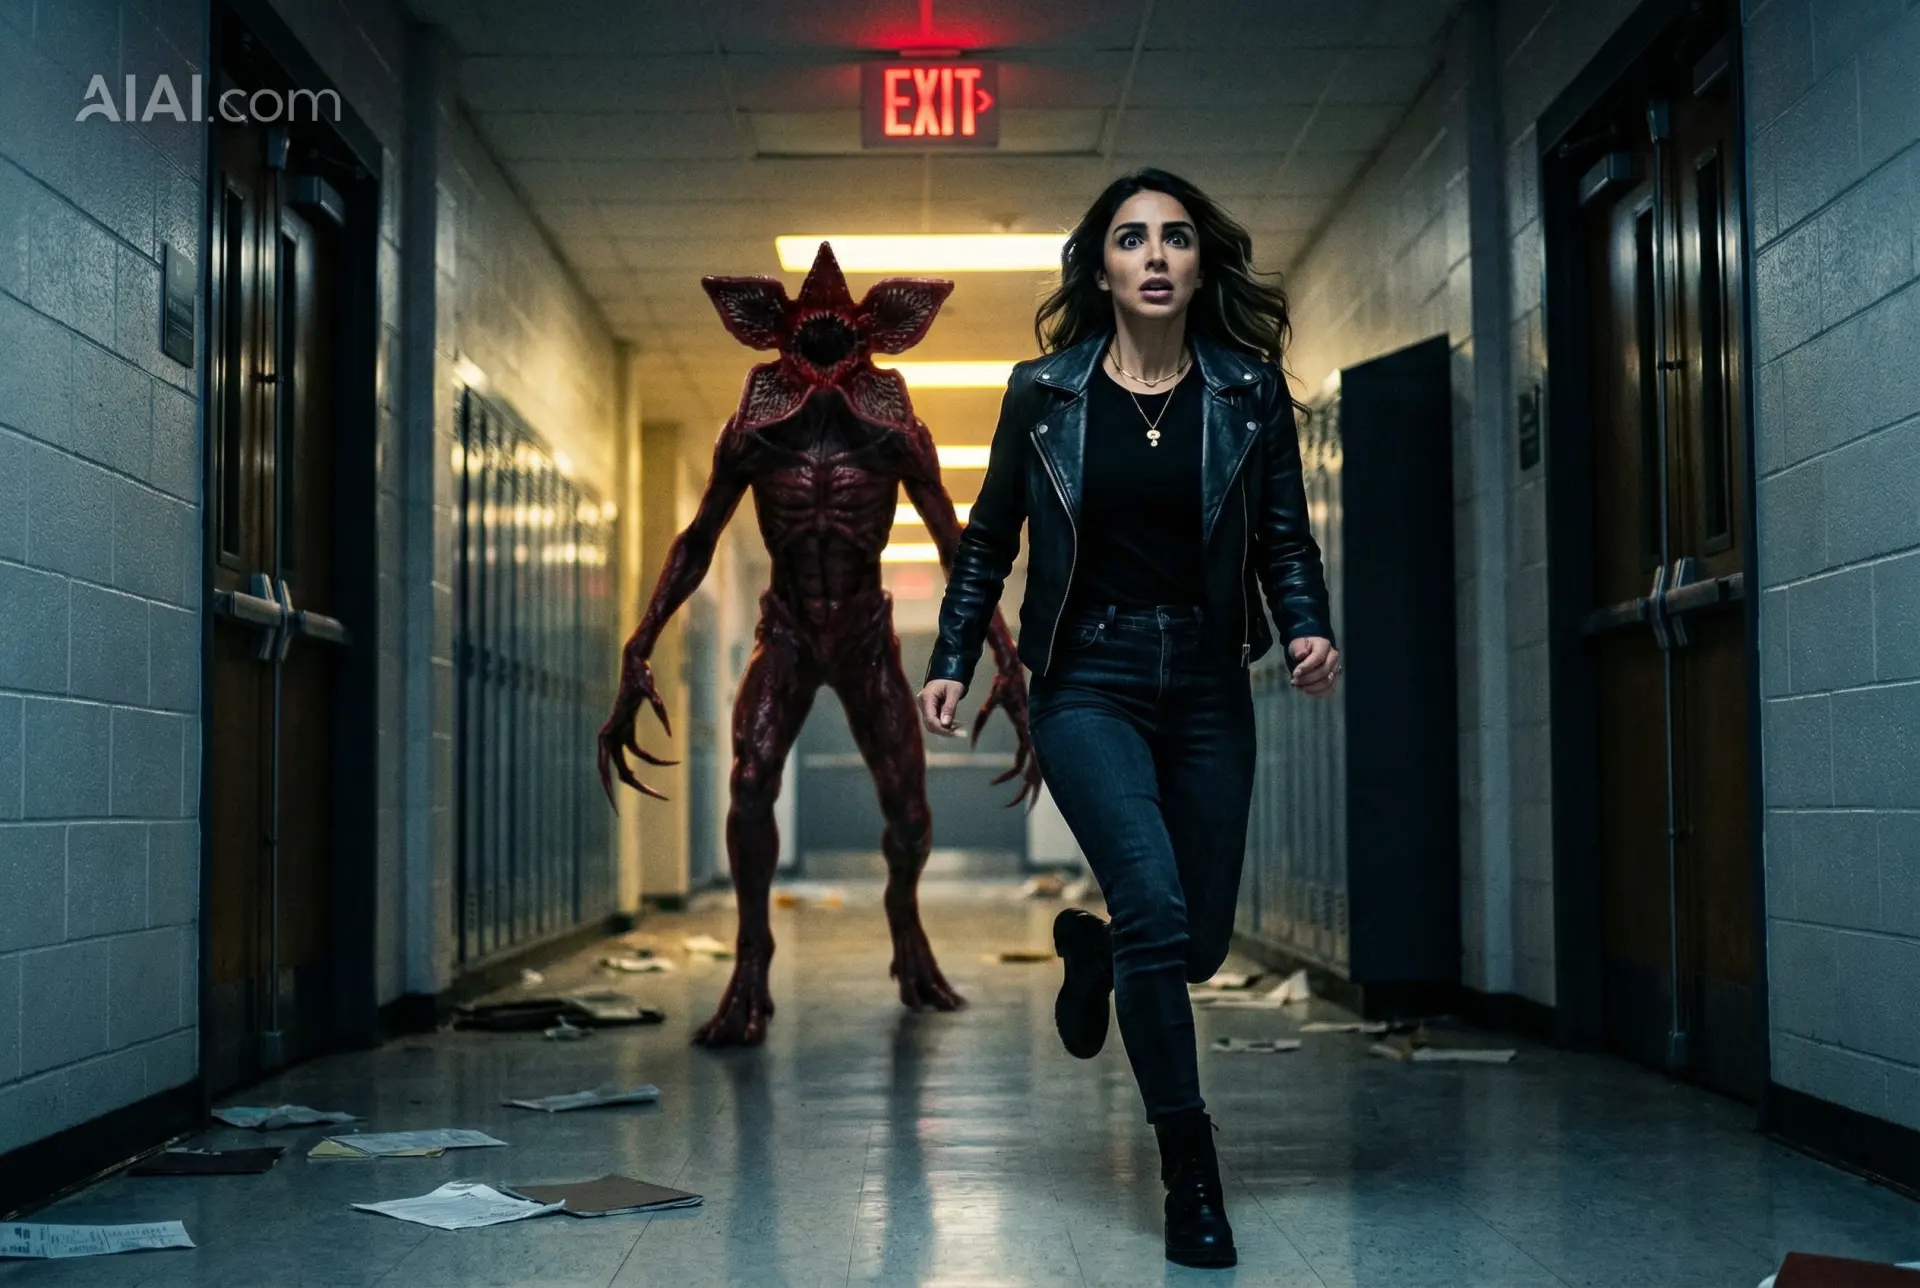
Discover how Nano Banana Pro's AI image-to-image feature can turn your ordinary photos into stunning "Stranger Things" themed artwork. Unleash Read more
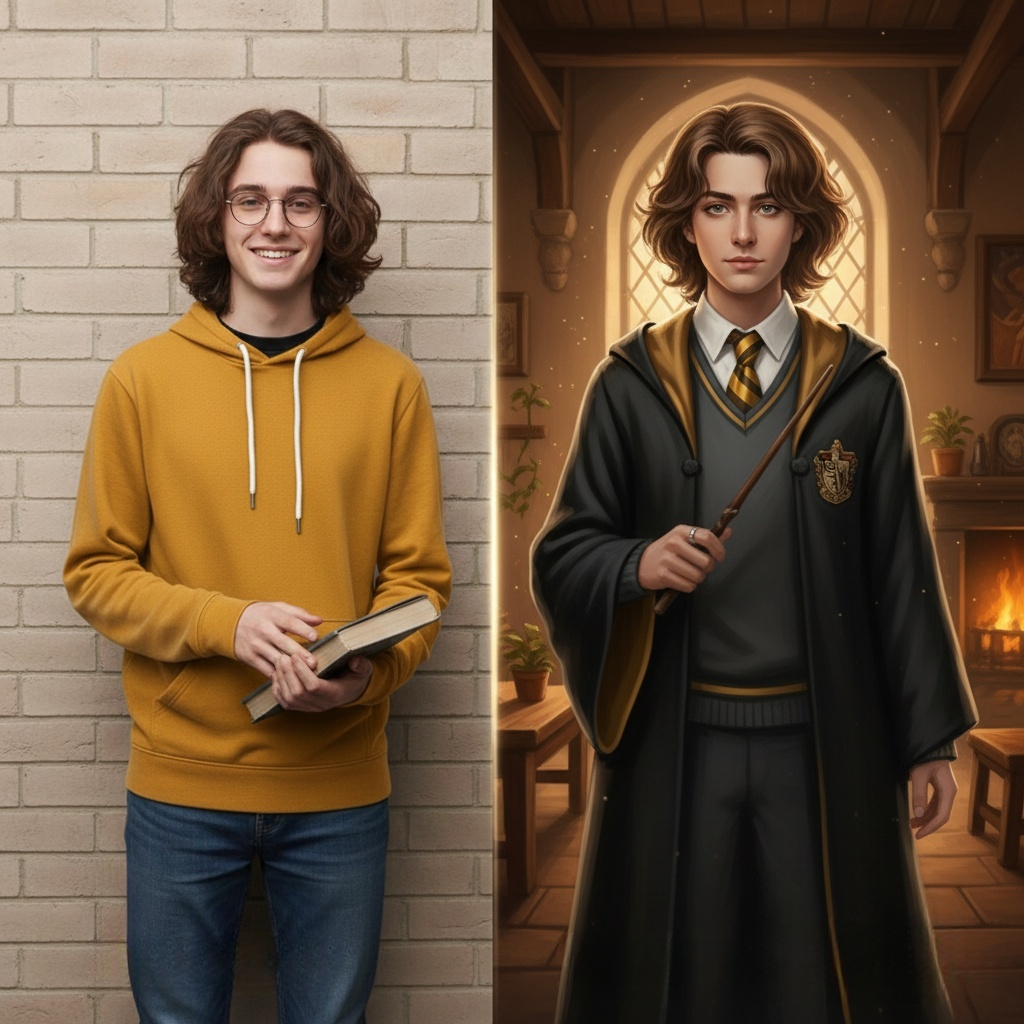
Looking for the best Harry Potter Fan Art generator? Learn how to visualize book-accurate characters, create Hogwarts portraits, and reimagine Read more
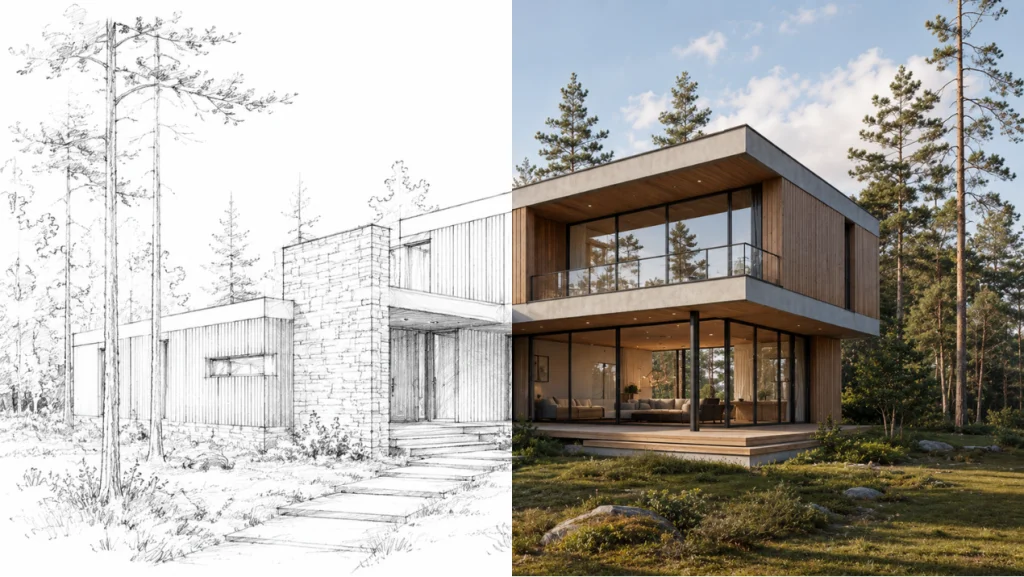
Can an AI Architecture Generator actually deliver buildable structural details, or is it just pretty, impossible-to-construct pictures? Here is my Read more