AI Image Extender — honestly, the first time I searched this term, I was just trying to reframe an image I already liked.
The photo itself was solid. It worked perfectly as a cover. But the moment I uploaded it to social platforms, everything broke. The aspect ratio was wrong. Cropping cut off the subject. Stretching made it look distorted. Re-shooting? Not realistic in terms of time or cost.
It was in that exact moment — when an image felt good but suddenly unusable — that I realized AI Image Extender isn’t really about making images bigger. It’s about making them usable again.

AI Image Extender Isn’t Just About Making Images Bigger
It’s easy to assume an AI Image Extender simply enlarges an image. In reality, that’s not what makes it useful.
What it actually does is extend the visual context of an image:
- Filling in missing edges
- Adjusting aspect ratios without destroying composition
- Expanding backgrounds while keeping the main subject intact
Instead of resizing pixels, the AI tries to understand what should exist beyond the original frame. When it works well, the extended image feels natural — like the camera just captured a wider scene.
Why Some AI Image Extender Results Look “Fake”
This is where many people get disappointed.
The image is extended. The resolution looks fine. But something feels off.
Most of the time, that “fake” feeling comes from inconsistency, not sharpness. The original image might have soft lighting, while the extended area suddenly looks brighter or flatter. Textures repeat. Background details start competing with the subject instead of supporting it.
It’s important to remember that an AI Image Extender isn’t recreating reality — it’s predicting what might logically exist outside the frame. The more it has to guess, the more room there is for things to go wrong.
That’s why over-extending an image often backfires. The goal isn’t to see how far you can expand — it’s to extend just enough that the image still feels believable.
Decide Where the Image Will Be Used Before You Extend It
One thing that made a huge difference for me was changing the order of decisions.
Instead of opening an AI Image Extender and experimenting blindly, I started asking one question first:
Where is this image actually going to be used?
For a cover image, you usually only need subtle extension — just enough space to prevent cropping.
For ads or banners, the priority is leaving clean areas for text and layout.
For product pages, realism matters more than creativity; the background should support the item, not distract from it.
Once the final use is clear, decisions about direction, scale, and restraint become much easier. The same image can be extended in very different ways depending on its purpose — and that’s often why results feel “wrong” when this step is skipped.
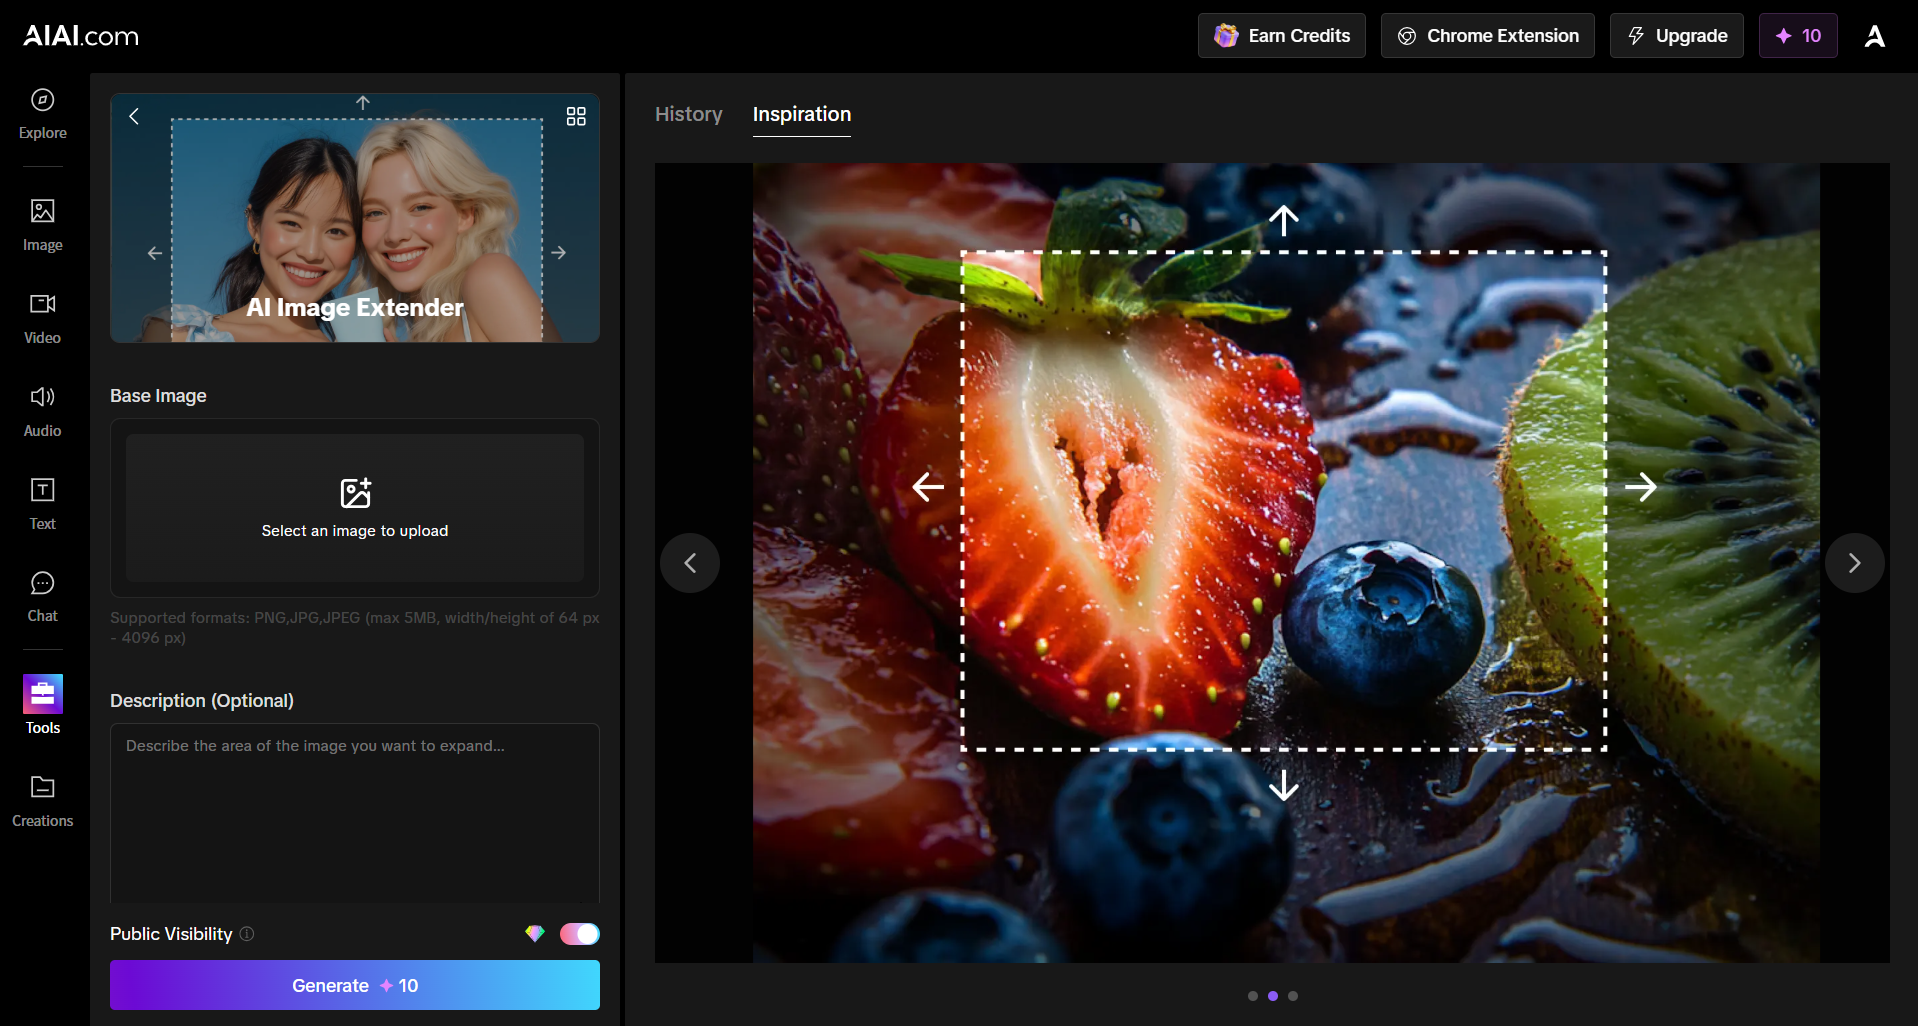
How to Use AI Image Extender
Using an AI Image Extender is actually pretty straightforward. Here’s how I usually do it on AIAI.com:
- Select your image in the Base Image section
- Supported formats: PNG, JPG, or JPEG
- Max size: 5MB
- Width/height range: 64px to 4096px
- Once selected, upload the image and you’re ready to start extending
- Add a Description (Optional)
- In the Description field, you can briefly describe the area you want to expand
- For example: “extend background,” “keep main subject,” or “add vertical space”
- It’s optional, but providing a description helps the AI better understand your intent
- Click Generate
- The AI will automatically fill in the extended area based on your image and description
- The result tries to maintain the original lighting, colors, and style of your image
- Check and Export
- Review the generated result
- If needed, adjust the description or direction and generate again
- Once satisfied, download the image — ready to use for covers, social media posts, or product pages
The whole process is simple and doesn’t require a ton of settings like some other tools.
It’s fast, and the generated results usually feel natural — not obviously AI-generated.
Common Mistakes That Make Extensions Look Worse (and How to Fix Them)
Even experienced users of AI Image Extenders often fall into a few recurring traps. Understanding these can save time and help generate more natural, high-quality results.
- Insufficient Overlap with the Original Image
- Mistake: Placing the extension area right at the edge of the original image or leaving almost no overlapping pixels.
- Result: The AI lacks enough texture and lighting context, causing visible seams or mismatched areas between the original and extended regions.
- Fix: Leave at least 10–15% overlap (Mask Overlap) so the AI can “learn” the brushstrokes, colors, and lighting from the original image.
- Overly Complex or Mismatched Prompts
- Mistake: Inputting a full scene description for the extension (e.g., “A boy stands on a mountain peak overlooking a sea of clouds”).
- Result: The AI may try to regenerate the entire subject or scene in a small extended area, creating odd repetitions or distortions.
- Fix: Only describe the content of the extension itself. For background completion, prompts like “forest background” or “sky” are sufficient. In many tools, leaving the prompt blank lets the AI infer the extension more naturally.
- Resolution and Aspect Ratio Imbalance
- Mistake: Expanding too large an area in one step (e.g., stretching a 1:1 image directly to 16:9).
- Result: AI struggles with long empty areas, potentially generating illogical elements—multiple suns, warped horizons, or inconsistent object sizes.
- Fix: Expand progressively. Work in small steps, one direction at a time, until the desired large format is achieved.
- Ignoring Global Lighting and Perspective
- Mistake: Overlooking the original light source and perspective.
- Result: Shadows and depth in the extended area don’t match the original, creating unrealistic results (e.g., background trees larger than foreground objects).
- Fix: Include directional and perspective cues in prompts: “sunlight from left side, wide-angle perspective, depth of field”.
- Incorrect Denoising Strength (for tools like Stable Diffusion)
- Mistake: Setting denoising too high (near 1.0) or too low (below 0.3).
- Result: Too high detaches the extension from the original style; too low produces blurry, undefined areas.
- Fix: Typically 0.6–0.8 works best, balancing consistency with creative variation.
Pro Tips: Make Your AI-Extended Images Look Natural
Applying these tips alongside the above fixes will make your extensions feel more seamless and professional:
- Keep the subject away from edges
Prevents AI from creating awkward seams or repeating patterns in the extended background. - Use prompts wisely
Add small cues like “soft background,” “keep main subject,” or “same lighting” to help AI maintain consistency. Mention tones or shadow directions if the original image has a distinct mood. - Check proportions and scale
Review each generated result. Small adjustments in direction or scale can transform a slightly off extension into a natural one. - Work in steps for large extensions
For significant expansions, extend gradually rather than all at once to maintain coherence and visual logic. - Mind lighting and perspective
Ensure the extension matches the original scene’s light direction and depth. Even subtle mismatches can make the image look artificial.

In the end, AI Image Extender isn’t just a tool to make images bigger—it’s a way to make them usable, versatile, and visually cohesive. With the right approach, a little planning, and a few simple tricks, even ordinary photos can be transformed into polished visuals ready for social media, product pages, or banners.
Need a logo fast but don’t have design skills? An AI Logo Generator can help you create multiple professional logo Read more

With the rise of generative AI, creating stunning videos has never been easier. I recently used Meta AI to generate Read more
If you’ve been creating videos for TikTok, YouTube Shorts, or social media, you’ve probably noticed something common — downloaded or Read more
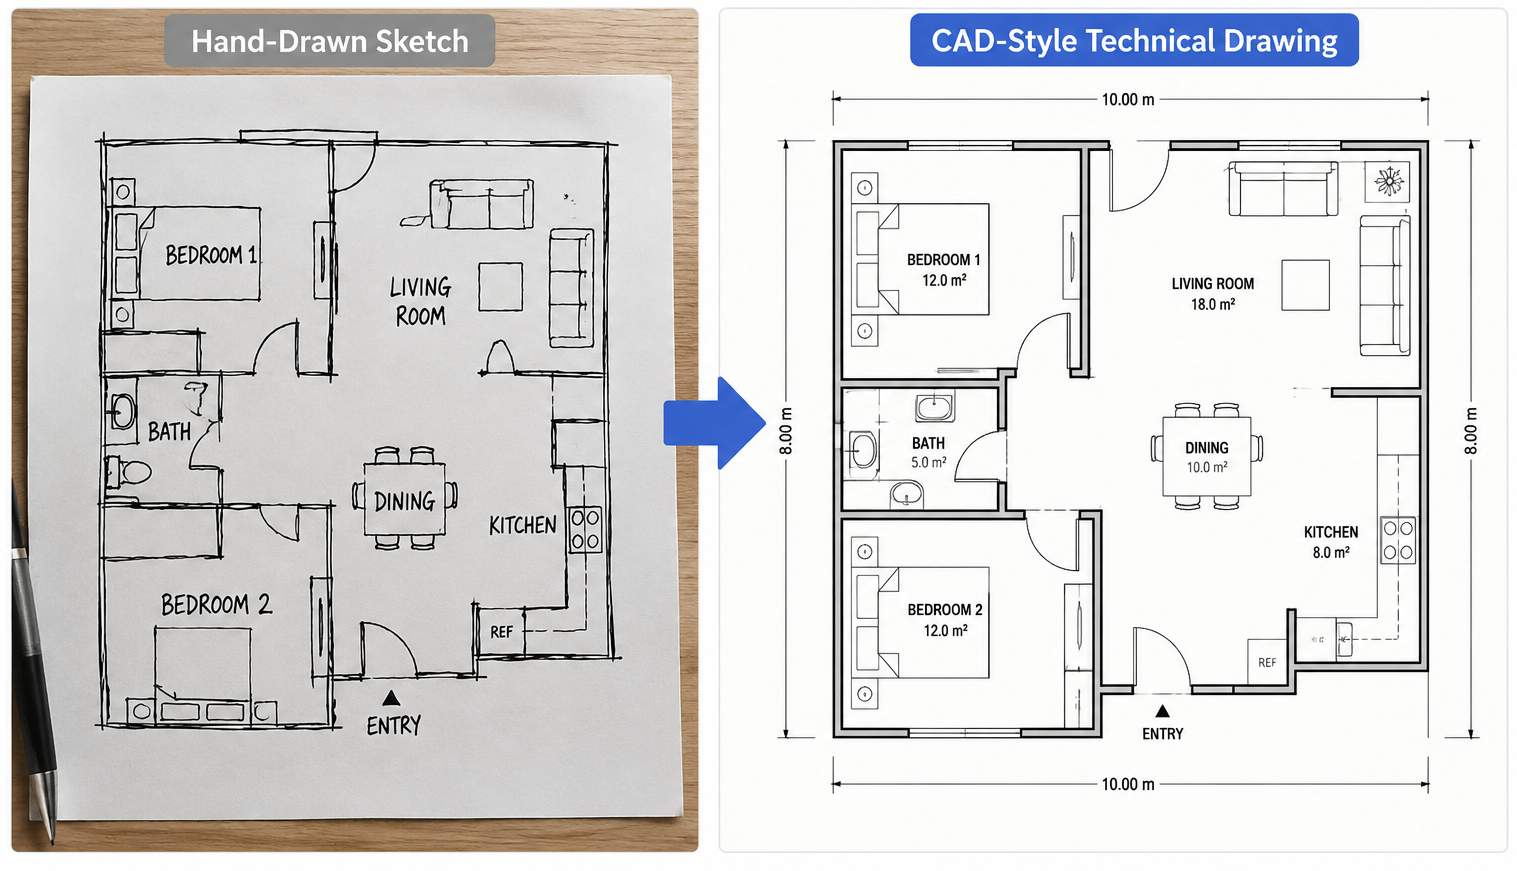
An AI CAD Drawing Generator is exactly the kind of tool engineers and designers have been searching for. While browsing Read more