I. My Struggle as a New Architectural Drafter
I’m a 24-year-old junior architectural drafter at a small design firm in Texas, fresh out of college for a year. My main daily task is creating floor plan CADs, and as a beginner, I’ve been troubled by this work every day.
Manual floor plan CAD drafting is extremely time-consuming—each drawing takes 1-2 hours. I spend hours tracing lines, adjusting dimensions, and making frequent mistakes that force me to redraw the entire plan. Clients rush me for deliverables, my boss pushes for faster efficiency, and overtime has become the norm. Besides, I’m not proficient in AutoCAD, and when clients make last-minute changes, I have to redraw everything by hand. There were days I couldn’t finish a single qualified drawing—until I found the AI CAD Drawing Generator for Floor Plans, which helped me get rid of this trouble completely.
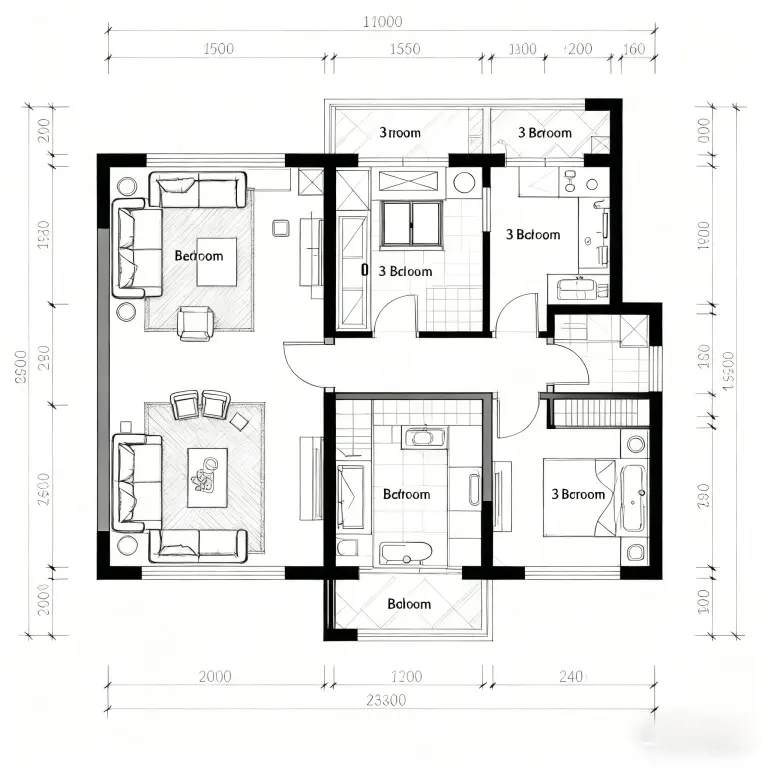
What struck me most was how the tool’s output matched industry standards perfectly: clean, sharp CAD lines, clearly labeled room types, precise dimension annotations, and standard symbols for doors and windows—all in a professional DWG preview format against a pure white background. No messy hand-drawn lines, no misaligned walls, no missing measurements. It looked like a senior drafter had spent hours refining it, not a beginner with 10 minutes of work.

II. The Solution: AI CAD Drawing Generator for Floor Plans
This AI floor plan generator is designed specifically for beginner drafters. It’s efficient, accurate, and easy to use, perfectly solving all my pain points. No need to master complex CAD commands—even beginners can get started quickly.
Key advantages are as follows:
- Double Efficiency: Generate high-quality CAD drawings in 10 minutes, 10 times faster than manual drafting, and say goodbye to overtime completely.
- Zero Errors: AI automatically calibrates dimensions and proportions, meeting industry standards and reducing client revision requests.
- Beginner-Friendly: No need to memorize complex commands—just input simple information to generate floor plans.
- Flexible and Convenient: Available online without download. Adjust parameters quickly when clients change requirements, and compatible with multiple devices.
- Practical: Export industry-standard DWG files that can be directly imported into software like AutoCAD and Revit.
I’ve tested 7 AI tools, and this one is the most suitable for architectural drafting scenarios. It offers free trials, and the paid version is cost-effective—perfect for beginners on a budget. The final CAD output is especially impressive: every wall thickness follows standard residential codes, door swings are correctly oriented, and room labels are placed in consistent, readable positions, just like the professional blueprints I see in our firm’s project files AI floor plan generator.

III. My 10-Minute Step-by-Step Workflow
I’m sharing my daily operation steps—only 10 minutes in total. Beginners can follow along to generate drawings quickly.
Step 1: Collect Client Requirements
Confirm the client’s core needs: total space area, number and type of rooms, and specific requirements (such as walk-in closets). Record key information for later use. For example, if a client wants a 1,200 sq ft home with 2 bedrooms, 1 bathroom, and an open-concept kitchen, I jot these details down to avoid missing critical inputs later.
Step 2: Input Information into the AI Tool
Open the online version of the AI CAD Drawing Generator for Floor Plans. Follow the prompts to input the total area, room information, dimensions, add details like doors and windows, and adjust parameters such as wall thickness. I love that I don’t have to guess at standard sizes—the tool pre-fills common residential dimensions (like 8ft ceiling heights, 36in door widths) to keep my drawings compliant with building codes.
Step 3: Generate and Optimize the CAD Drawing
Click “Generate CAD” and wait 30 seconds to get a complete floor plan. The output is a clean, professional CAD preview: white background, sharp black lines, labeled rooms (e.g., “Master Bedroom,” “Kitchen”), dimension lines along every wall, and standard symbols for windows, doors, and electrical outlets. I check the dimensions and layout to ensure they match the client’s request—usually, the AI gets it right on the first try, but I’ll tweak minor details like moving a window slightly to align with exterior walls. Once satisfied, I export the DWG file, which opens seamlessly in AutoCAD for further edits or client review.
IV. Beginner Tips to Avoid Mistakes
As someone who’s been there, I’m sharing tips for beginners to avoid mistakes:
Closing Guide: If you’re also a beginner drafter troubled by floor plan drafting, try this AI CAD Drawing Generator for Floor Plans. It helps you generate drawings quickly, reduce internal friction, and handle work easily. The clean, professional CAD output—with clear room labels, precise dimensions, and standard symbols—will make your work look polished and credible, even as a new hire.
Avoid Mistakes: Confirm client requirements before operation, and always check dimensions after generating the drawing to avoid frequent revisions. A quick scan of the CAD preview’s dimension labels will catch any mismatches before you share it with your team or client.
Tool Comparison: Compared with other similar products, this tool is more accurate and compatible. The free version is sufficient for daily use, and the paid version is cost-effective. Other tools I tested often produced blurry, non-editable images instead of true DWG files, making them useless for professional work.
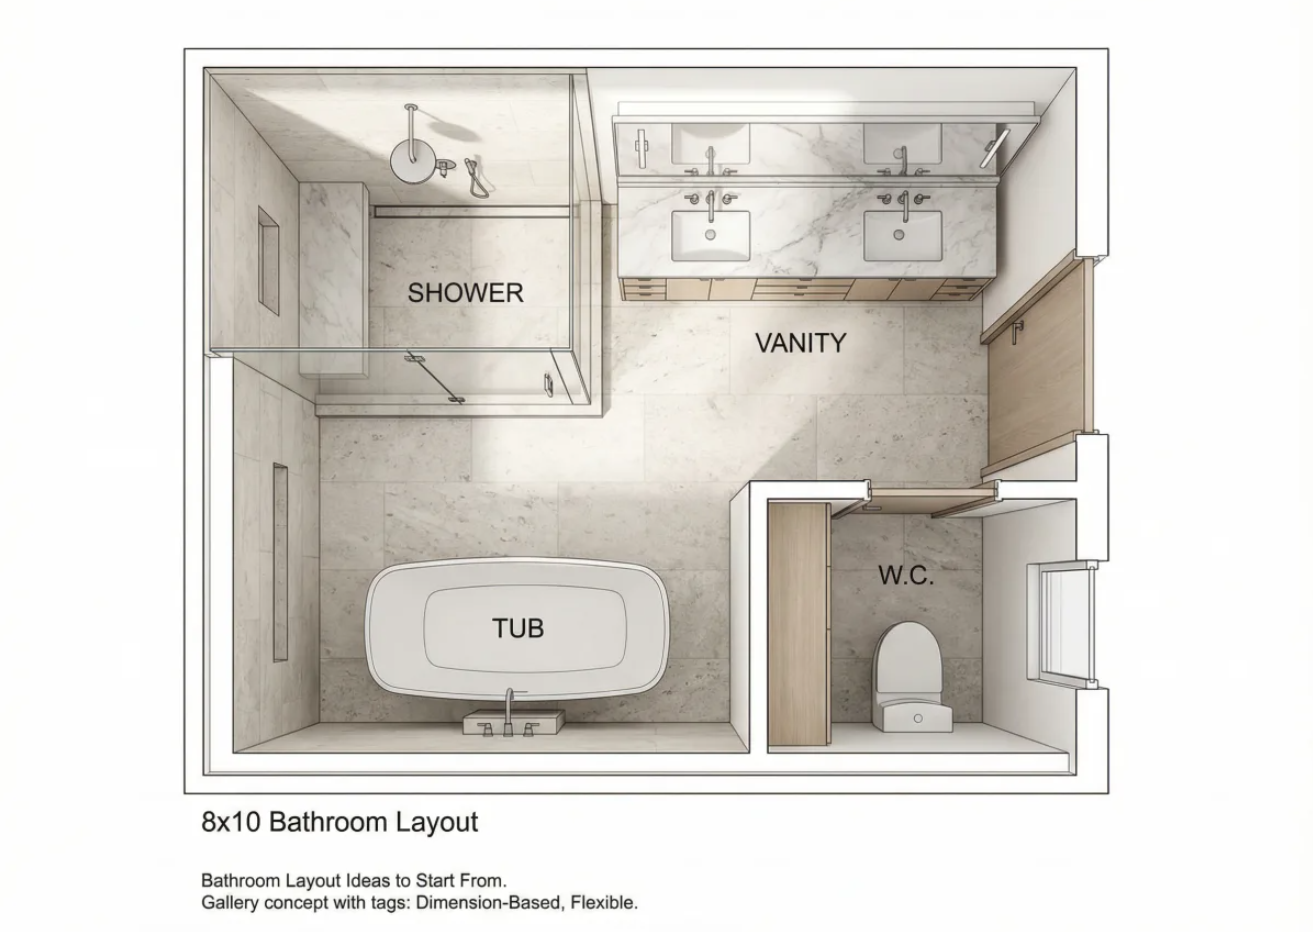
Avoid costly remodel mistakes. Discover exact NKBA clearances for your bathroom floor plan and learn how to visualize your layout Read more
Remove unwanted logos, social media stamps, and trial watermarks from your clips. Learn how WatermarkRemover.aiai uses AI to easily clean Read more

Learn how to use an AI-powered Veo Watermark Remover to delete Google Veo video watermarks online quickly and create clean, Read more

Planning a home layout used to take hours, but I’ve been using an AI floor plan generator to turn empty Read more